
TL;DR
Open a free Amazon Business account
Business pricing, bulk buying and tax-exempt orders.
Create a free accountAs an affiliate, we earn on qualifying purchases.
You can refresh a dull tile floor with a combination of thorough cleaning, re-grouting, and sealing. These steps restore shine, hide stains, and extend the life of your tiles, often with just a weekend’s effort.
Nothing kills a room’s vibe faster than tired, grimy-looking tile. You know the kind — dull, stained, maybe a little cracked, with grout lines that seem to swallow dirt and grime. But here’s the thing: you don’t need a complete overhaul. With a few simple tricks, you can breathe new life into that tired floor.
This guide walks you through practical, safe ways to refresh your tile, from deep cleaning to re-grouting and sealing. No hype, no expensive replacements — just real, doable tips that make your tile look like new again.
Deep cleaning, re-grouting, and sealing are the quickest ways to revive tired tile floors.
Re-grouting can be done with simple tools and produces immediate visual impact.
Sealing natural stone tiles every 1-3 years keeps them looking vibrant and stain-free.
Fix small chips and cracks promptly to prevent further damage and maintain a fresh look.
Decorative coatings allow for color and style updates without full replacement.
Start with a Deep Clean — The Foundation of a Fresh Look
Deep cleaning is the first step to transforming your tile floor. Dirt, soap scum, and grime build up over time, dulling the surface and hiding its true color. Without a thorough clean, subsequent efforts like re-grouting or sealing won’t be as effective because dirt and residues can prevent adhesion and diminish the shine.
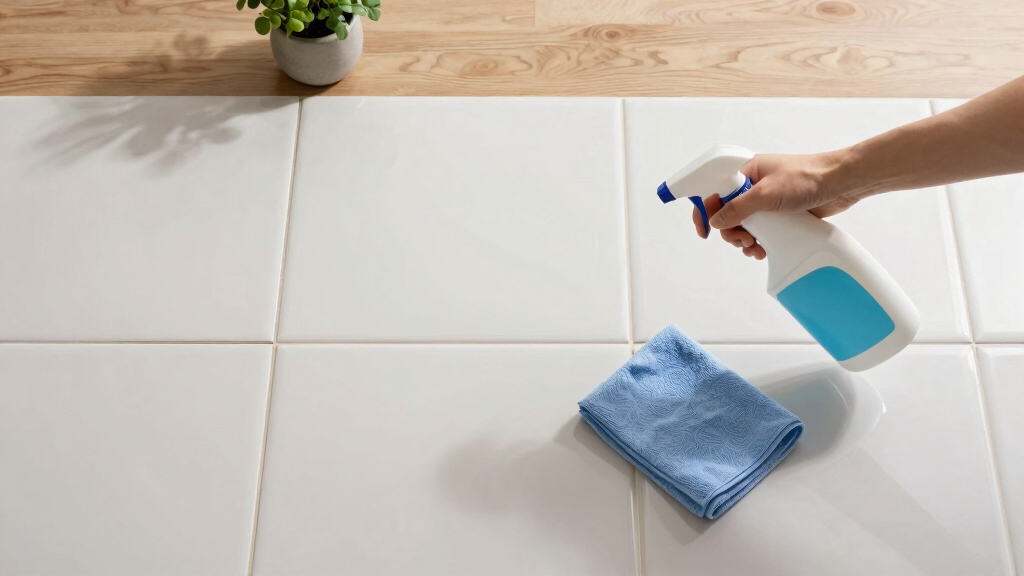
Use a neutral pH cleaner or a mixture of warm water and a few drops of dish soap. For stubborn stains, a paste of baking soda and water applied with a soft scrub brush works wonders. Be sure to rinse well and dry thoroughly to prevent new grime from settling. This step ensures the surface is truly clean, which is essential for any further restoration work to bond properly and last longer.
For example, I once cleaned a 12-year-old ceramic kitchen floor with just warm water, a splash of vinegar, and a microfiber mop. It looked brighter, and the grout lines popped again. Skipping deep cleaning can lead to a false sense of progress, as grime can mask the true condition of the tile and grout, making repairs or sealing less effective.

HileSwan Scrub Brush Set, 4 Pack Deep Cleaning Brush Kit, Green
- Set Includes 4 Brushes: 2 scrub brushes and 2 grout brushes with scraper
- Sturdy Polypropylene Bristles: Heavy-duty, durable stiff bristles for tough cleaning
- Ergonomic Non-slip Handles: Comfortable, wet-resistant grip with hanging hole
As an affiliate, we earn on qualifying purchases.
As an affiliate, we earn on qualifying purchases.
Re-Strip and Re-Apply Grout for a Fresh, Clean Edge
Re-grouting is more than just a cosmetic fix; it restores the structural integrity of your tiled surface. Over time, grout can become discolored, cracked, or moldy, which not only looks unsightly but can also harbor bacteria and cause further damage if left unchecked. Re-grouting improves the appearance by giving your floor a uniform, fresh look, but it also strengthens the joints, preventing tiles from shifting or cracking in the future.
Removing old grout exposes a clean surface that allows the new grout to adhere better, resulting in longer-lasting results. Choosing the right grout stain or color can also help you customize the look, whether you want a seamless, modern appearance or a contrast that highlights the tile pattern.
Here’s how to do it:
- Remove old grout with a grout removal tool or a utility knife, being careful not to damage the tiles. This process can be labor-intensive but is crucial for a durable repair.
- Clean the gaps thoroughly to remove dust, debris, and residual grout particles—these can weaken the bond of the new grout and affect color consistency.
- Mix new grout according to the package instructions, ensuring a smooth, workable consistency.
- Apply the fresh grout using a rubber float, pressing it into the joints to fill all gaps completely. Proper application ensures the grout stays intact and prevents water infiltration.
- Wipe away excess with a damp sponge after 15 minutes, being careful not to remove too much from the joints.
- Let it cure for at least 24 hours before walking on it to allow the grout to set properly and avoid cracks or crumbling.
Using grout paint or stain can be a quick fix for stubborn discoloration, but re-grouting provides a more permanent and visually appealing solution. The benefits extend beyond aesthetics: a well-maintained grout line can prevent moisture intrusion and reduce the risk of mold growth, which is vital for the longevity and hygiene of your floor.
Imagine a bathroom where the grout was once dark gray and stained. After re-grouting, it looked crisp, bright, and like new — a simple fix that made the whole space feel cleaner and more inviting.

Tile Tools Stainless Steel Square Notch Trowel Set Plus Rubber Grout Float and Grout Sponge for Tiling Installation Grouting
- Complete Tiling Kit: All essential tools for tile installation
- Durable Stainless Steel Blade: Polished, 0.7mm thick, rust-resistant
- Ergonomic Handle Design: Comfortable grip for easy use
As an affiliate, we earn on qualifying purchases.
As an affiliate, we earn on qualifying purchases.
Seal Your Tiles and Grout — Keep the Shine Lasting
Sealing is like giving your tiles a protective shield. It prevents stains, reduces dirt buildup, and keeps that fresh look longer. Natural stone tiles especially need sealing every 1-3 years because they are more porous and susceptible to staining from spills and environmental factors. Proper sealing can significantly extend the time between deep cleans and repairs, saving you money and effort in the long run.
To seal properly:
- Clean and dry the surface completely, removing any dirt, dust, or residual cleaning products that could interfere with adhesion.
- Choose a sealant suitable for your tile type (porcelain, ceramic, stone). Different surfaces require different products for optimal protection.
- Apply evenly using a brush or roller, avoiding puddles that can lead to uneven coverage or sealant pooling. Uniform application ensures consistent protection across the entire surface.
- Let it sit for the recommended time, then wipe away excess with a clean cloth to prevent a sticky residue.
- Allow curing time before walking on the surface, typically 24-48 hours, to ensure the sealant bonds properly and provides maximum protection.
For example, a homeowner applied a high-quality sealant to their marble kitchen floor. Six months later, stains from red wine and oil were noticeably fewer, and cleanup was easier. Regular sealing not only maintains the appearance but also makes future cleaning less labor-intensive, as dirt and stains are less likely to penetrate the surface.

Miracle Sealants 511 Impregnator Penetrating Stone & Tile Sealer, Pint
- Suitable for porous surfaces: Use 511 Porous Plus on Travertine
- Oil and water resistant: Creates invisible protective barrier
- Coverage area: Covers up to 500 sq ft per pint
As an affiliate, we earn on qualifying purchases.
As an affiliate, we earn on qualifying purchases.
Fix Chips and Cracks — Stop Damage Before It Spreads
Cracked or chipped tiles are more than an eyesore — they can lead to bigger problems if left unaddressed. Cracks can allow water to seep beneath the surface, causing tiles to loosen or pop out over time, especially in areas exposed to moisture. Repairing or replacing damaged tiles promptly not only restores the aesthetic but also prevents structural deterioration and costly repairs down the line. The longer damage is ignored, the higher the risk of it spreading, which can compromise the entire floor’s stability.
If a tile has a small chip, you can often fix it with a tile repair kit or epoxy. These products can fill in the damage, matching the color and finish to hide the repair. For larger cracks or extensive damage, replacing the tile is advisable. Selecting a matching tile and installing it carefully ensures the repair blends seamlessly, maintaining the visual integrity of your floor.
Imagine a cracked corner tile in the entryway. Replacing it took less than 30 minutes and instantly made the whole floor look cared for. Addressing damage early prevents further crumbling, water intrusion, and the need for more extensive repairs later on.
Miracle Sealants 511 Impregnator Penetrating Stone & Tile Sealer, Pint
- Suitable for porous surfaces: Use 511 Porous Plus on Travertine
- Oil and water resistant: Creates invisible protective barrier
- Coverage area: Covers up to 500 sq ft per pint
As an affiliate, we earn on qualifying purchases.
As an affiliate, we earn on qualifying purchases.
Add Some Style — Easy Ways to Make Your Tile Look Stunning Again
Sometimes, a fresh coat of paint or epoxy can turn tired tiles into a statement piece. You can paint ceramic tiles with special tile paint or apply a decorative epoxy coating for a modern look. This approach allows you to customize your space, cover up minor imperfections, and introduce new colors or patterns without the expense and effort of replacing entire tiles. It’s a great way to refresh a dated or worn surface with minimal disruption.
For example, a homeowner painted their dull white kitchen tiles a bright teal. The transformation was dramatic — the space felt new, vibrant, and personalized. This method is especially useful in rental properties or spaces where a temporary change is desired, as it’s reversible with proper surface prep and quality products.
Just prep the surface properly — clean, sand lightly if needed, and use products designed for tiles. This quick update can be done over a weekend and costs a fraction of replacement, making it an accessible option for many homeowners looking to add a personal touch or modern flair.
Quick Tips to Keep Your Tile Floor Looking Great
- Always wipe up spills immediately to prevent stains and potential damage, especially on porous tiles like natural stone.
- Use doormats at entrances to reduce dirt, grit, and moisture that can scratch or stain your tiles.
- Sweep regularly to remove debris that can scratch surfaces or embed in grout lines, accelerating wear.
- Avoid harsh acids or alkalis on natural stone, as they can etch or degrade the surface, leading to costly repairs.
- Schedule sealing every 1-3 years for long-term protection, especially in high-traffic areas where wear is accelerated.
Frequently Asked Questions
Can I use vinegar to clean my tile floor?
Yes, vinegar is effective for many tile types, especially ceramic and porcelain. Mix one cup of vinegar with a gallon of warm water for a natural, streak-free clean. Avoid using vinegar on natural stone, as it can etch the surface.
How often should I re-seal my tile floor?
Most tiles benefit from resealing every 1 to 3 years. For high-traffic areas, more frequent sealing may be necessary. Check your sealant’s instructions and look for signs of wear, like water no longer beading on the surface.
Is it safe to paint my ceramic tiles?
Yes, but only with products designed specifically for tiles and after proper surface preparation. Cleaning and lightly sanding the surface helps paint adhere better. This is a good option if you want a bold new look without replacing tiles.
What’s the best way to remove stubborn grout stains?
Use a grout cleaner or a paste of baking soda and water applied with a brush. For tougher stains, a mix of hydrogen peroxide and baking soda can help lift discoloration. Always rinse well and dry afterward to prevent mold growth.
Conclusion
Refreshing a tired tile floor isn’t about expensive replacements — it’s about smart, practical steps that restore its sparkle. Regular upkeep, like sealing and cleaning, keeps your tiles looking their best longer.
Imagine walking into a room where the tiles gleam under your feet, like they’re new again. That’s a satisfying upgrade that anyone can achieve with a little effort and know-how.
Summer Picks
summer essentials
As an affiliate, we earn on qualifying purchases.