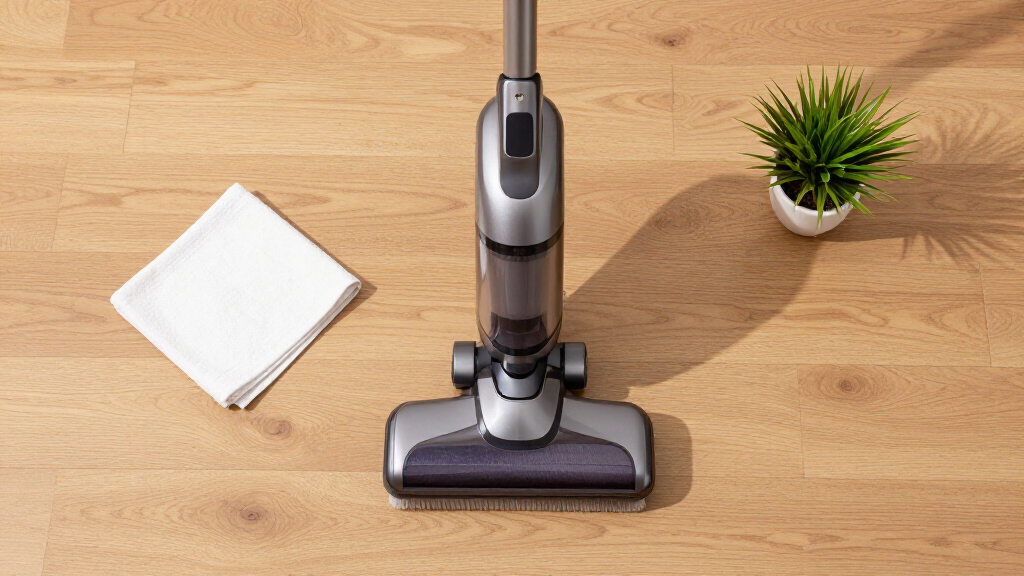
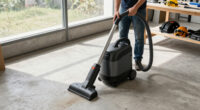
TL;DR
Vacuuming hardwood without scratching hinges on using the right equipment and technique. Turn off beater bars, use soft rollers, and vacuum frequently to keep your floors pristine and scratch-free.
Always turn off or disable the beater bar on your vacuum when cleaning hardwood floors.
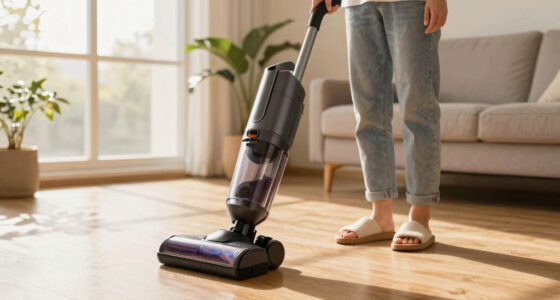
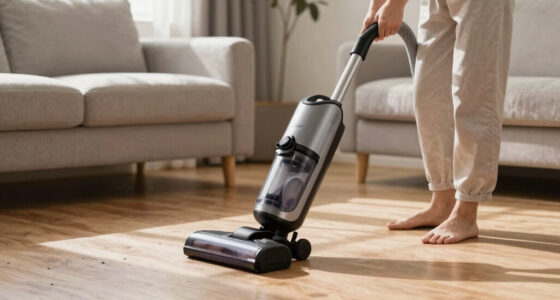
Use vacuums with soft rollers or fabric-wrapped heads designed for hard floors.
Regularly remove grit from vacuum wheels and brushes to prevent scratching.
Vacuum with gentle, overlapping passes, following the grain when possible.
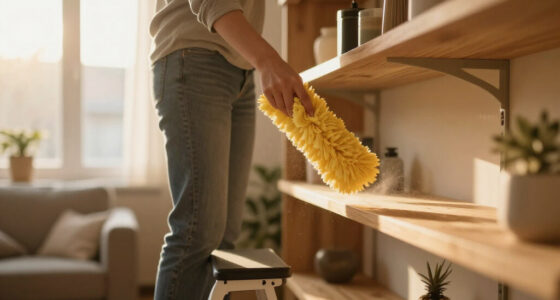
Complement vacuuming with microfiber dust mops and soft brooms for daily maintenance.
The Best Way to Vacuum Hardwood Without Scratching
Protect the finish by removing the two things that cause most damage: aggressive agitation and trapped grit. Switch off the beater bar, choose a soft floor head, and move with controlled, overlapping passes.
Build a floor-friendly vacuum
A hardwood-safe machine relies on strong suction and soft contact points. Every part touching the floor—from the roller to the wheels—should glide without trapping or dragging abrasive particles.
Brush-roll shutoff
Choose a “bare floor” or “hard floor” mode that stops stiff carpet bristles from rotating against the finish.
Soft roller head
Fabric-wrapped and microfiber rollers lift dust with less friction than traditional bristle bars.
Rubber or felt wheels
Soft wheels absorb small impacts and are less likely to gouge the finish than rigid plastic wheels.
Adjustable suction
Use enough airflow to capture debris without making the head difficult to guide across the boards.
Lightweight body
A lighter vacuum is easier to control and less damaging if a particle becomes trapped underneath it.
Soft attachments
A parquet tool or microfiber brush cleans corners and baseboards without hard edges scraping the floor.

Eureka Lightweight Powerful Upright Vacuum Cleaner for Carpet and Hard Floor, PowerSpeed, New Model,Blue,black/New Model
Upgraded Cyclone System: The Eureka PowerSpeed is now upgraded with new cyclone technology to handle larger debris, smaller…
As an affiliate, we earn on qualifying purchases.
As an affiliate, we earn on qualifying purchases.
How grit becomes a scratch
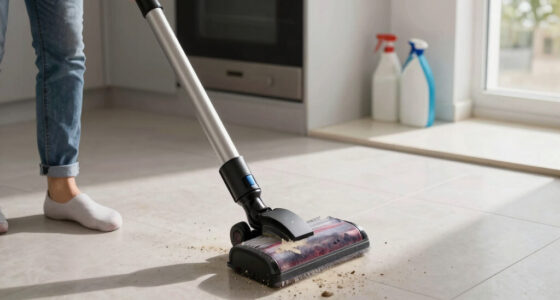
The vacuum itself is often blamed, but sand and small stones are the real abrasives. Once embedded in a wheel or brush, grit behaves like sandpaper moving repeatedly over the finish.
Grit enters
Sand, dirt and tiny stones are tracked indoors from entryways.
Debris embeds
Particles lodge in wheels, stiff bristles or the underside of the head.
Friction drags
Pressure and repeated passes pull the abrasive material over the coating.
Finish hazes
Fine marks accumulate, scattering light and dulling the floor’s clarity.
Place doormats at entry points, remove visible stones before vacuuming, and wipe the vacuum’s wheels and floor head regularly.
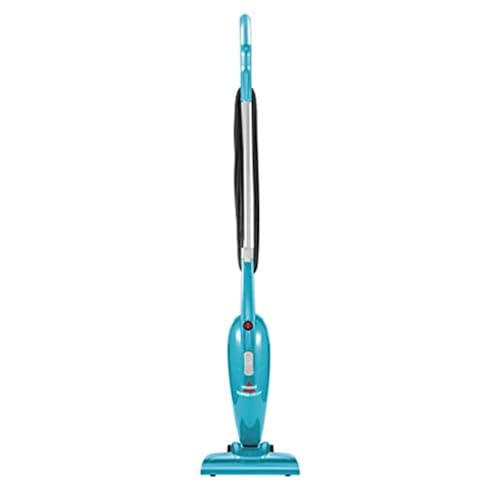
Bissell 2033 Featherweight Stick Lightweight Bagless Vacuum and Electric Broom with Crevice Tool for Hard Floors and Carpets, Blue
VERSATILE THREE IN ONE DESIGN. Easily converts from a corded stick vacuum to a hand vacuum or a…
As an affiliate, we earn on qualifying purchases.
As an affiliate, we earn on qualifying purchases.
Hardwood tool comparison
Canister vacuums remain a dependable hardwood choice, while modern cordless sticks with soft rollers now offer similar floor protection. The actual head and wheel design matter more than the category name.
| Cleaning tool | Hardwood safety | Grit pickup | Best use |
|---|---|---|---|
| Canister + parquet head | ✓ Excellent | ✓ Strong | Whole-home deep cleaning |
| Cordless + soft roller | ✓ Excellent | ✓ Strong | Frequent maintenance |
| Robot + rubber rollers | ~ Good | ~ Moderate | Daily surface debris |
| Microfiber dust mop | ✓ Excellent | ~ Fine dust | Safest daily touch-up |
| Upright, fixed beater bar | ✗ Poor | ✓ Strong | Carpet only |
| Steam mop | ✗ Avoid | ✗ Not applicable | Not recommended for wood |
vacuum with beater bar disable switch
As an affiliate, we earn on qualifying purchases.
As an affiliate, we earn on qualifying purchases.
The scratch-free vacuuming sequence
Move deliberately and let suction do the work. Excess pressure does not improve hard-floor cleaning; it increases friction and can grind particles into the finish.
Check the floor
Pick up stones, metal pieces and other visible debris first.
Clean the head
Remove grit from wheels, roller edges and attachment joints.
Stop the beater
Select hard-floor mode or install a suction-only soft head.
Follow the grain
Use slow, overlapping passes without pressing down hard.
Detail gently
Use soft attachments around furniture, edges and corners.
Never drag the hose or vacuum body.
Keep the machine under control, lift it over thresholds, and use felt pads under furniture. Sudden jerks can pull hard components or trapped grit across the floor.
Simple maintenance rhythm

CLEANHOME Microfiber Dust Mop for Hardwood Floor Cleaning
Microfiber Dust Mop for Deep Cleaning:The microfiber mop designed to excel as a floor mop for deep cleaning….
As an affiliate, we earn on qualifying purchases.
As an affiliate, we earn on qualifying purchases.
Four things hardwood floors dislike
Dry maintenance is the safest default. Heat, standing moisture and aggressive agitation can compromise both the finish and the boards beneath it.
Fixed beater bars
Stiff, fast-moving bristles can haze a finish and drag embedded particles repeatedly.
Hard plastic wheels
Rigid wheels can trap grit or mark uneven floors, particularly under a heavy machine.
Steam cleaning
Heat and moisture can affect coatings, seams and wood fibers. Follow the floor maker’s guidance.
Excess water
Wet mopping can drive moisture between boards and contribute to swelling or finish damage.
Most vacuum marks affect the finish—not the wood
Scratch resistance varies by coating. Aluminum oxide finishes are generally highly resistant, while oil and some site-applied finishes mark more easily. A softer finish deserves an even gentler tool and more frequent grit removal.
Oil-finished floors
More prone to visible marks, but localized scratches may be easier to spot-repair or blend.
Site-finished floors
Protection varies with coating type, cure quality and age. Use the gentlest practical setup.
Prefinished floors
Often protected by durable aluminum oxide, though grit can still dull the surface over time.
Clean floors. Clear finish. Zero drama.
The safest routine combines soft equipment, frequent grit removal and patient technique. If the vacuum contacts the floor gently and debris never gets dragged, scratching becomes far less likely.
Why the Beater Bar is Your Floor’s Worst Enemy
Most vacuums come with a rotating beater bar that agitates carpet fibers, but on hardwood, it’s a different story. That stiff, bristly roller can scratch or haze your finish over time, especially if grit gets caught in the brush. When tiny particles like dirt or grit are trapped in the beater bar, they act like micro-scrapers that scrape against your floor with each rotation. Over repeated use, this can lead to a dull or hazy appearance and micro-scratches that compromise the finish’s integrity. Turning off the beater bar eliminates this risk because it prevents the brush from making contact and dragging abrasive particles across the surface. This simple step preserves the smooth, glossy look of your hardwood. Many modern vacuums now feature an easy switch to disable the beater bar, making it straightforward to switch between cleaning carpets and hardwoods without risking damage.
Think of the beater bar as a tiny, aggressive rake rubbing your floor’s surface. If you’ve ever dragged a brush across a painted wall and seen tiny scratches, you get the idea. Keep it off or replace it with a soft roller for gentle cleaning. The tradeoff is that without the beater bar, you might need to vacuum more carefully or more frequently to pick up debris effectively, but the benefit is a much safer cleaning process for your hardwood floors.
What Features Make a Vacuum Hardwood-Friendly
Not all vacuums are created equal for hardwood. The key lies in understanding how specific features impact your flooring’s safety and cleanliness. Vacuums with a brush roll that can be turned off allow you to switch to a gentle cleaning mode, reducing the risk of scratching. A dedicated soft roller head is designed specifically for hard surfaces; these rollers are fabric-wrapped or made of microfiber, which lifts dirt and dust without contacting the floor with stiff bristles. Using such rollers minimizes friction and prevents micro-scratches that can dull your finish over time. Rubber wheels instead of hard plastic ones are crucial because plastic wheels can cause gouges or scratches, especially on uneven or grit-laden floors. Rubber wheels glide smoothly and absorb shocks, protecting the surface from micro-damage.
Lightweight design matters too — dragging a heavy vacuum across your floors increases the chance of accidental scratches or gouges, particularly if grit is present. Adjustable suction settings enable you to tailor the airflow to the task, preventing the vacuum from pulling or dragging debris that could scratch. Soft attachments, like microfiber dusting brushes, help reach tight spaces gently, avoiding unnecessary contact or pressure that might harm the surface. When shopping, prioritize these features because they directly influence how safely and effectively you can clean your hardwood floors without risking damage.
Understanding these features helps you choose a vacuum that balances powerful cleaning with gentle handling, ensuring your floors stay pristine for years to come. The right combination of a soft roller, turn-offable brush roll, rubber wheels, and adjustable suction creates a comprehensive safeguard against scratches while maintaining cleaning efficiency.
Grit, tiny bits of sand and dirt, is the real enemy because of its abrasive nature. When grit gets trapped in wheels or brush heads, it acts like a thousand tiny sandpaper grains, scraping against your hardwood finish with each contact. Over time, this causes micro-scratches that dull the surface and can even lead to visible gouges if left unchecked. The key is to prevent grit from accumulating and to remove it regularly through diligent cleaning routines. Vacuum frequently, especially in high-traffic areas, to keep grit from settling into the floor’s surface. Regularly inspect and clean your vacuum’s wheels and brushes — removing trapped debris ensures that no grit is dragged across your floors during each cleaning session.
For example, if you have a busy entryway or a pet corridor, vacuum it daily or every other day. Using a microfiber dust mop as a first line of defense traps fine dust and grit without scratching, creating a barrier that prevents debris from settling into the floor’s finish. Additionally, consider placing doormats at entry points to reduce the amount of grit tracked in from outside. By keeping grit in check, you minimize micro-scratches and preserve the clarity and shine of your hardwood finish, maintaining a like-new appearance longer. The tradeoff is that regular cleaning requires a bit more effort but pays off in the durability and beauty of your floors over time.
Perfect Your Technique for Scratch-Free Vacuuming
Even with the right vacuum, technique is crucial. Vacuuming with the grain of the wood when possible helps align the movement with the natural direction of the finish, reducing lateral stress and minimizing the risk of micro-scratches. Use gentle, overlapping passes to ensure thorough cleaning without excessive pressure that could grind debris into the surface. Let the vacuum do the work; pressing down hard or pushing aggressively increases friction and the chance of scratching, especially if grit is present. Keep the vacuum head low and steady, avoiding sudden jerks or aggressive movements that can cause micro-abrasions. When working around furniture or tight corners, use soft attachments or microfiber dust cloths to reach difficult spots without risking damage. Moving slowly and deliberately allows the vacuum to pick up debris efficiently while maintaining control, reducing accidental scratches.
Imagine pushing a lightweight cart across a smooth floor; pushing too hard causes scratches. Similarly, a gentle, controlled approach prevents damage. Regularly inspect your vacuum’s brush and wheels for trapped debris, and clean them promptly to avoid scratching during future sessions. This mindful technique prolongs the life of your finish and keeps your floors looking their best.