
TL;DR
Removing water stains from hardwood involves identifying the stain type, using heat or household items carefully, and applying preventive measures. Quick action and gentle methods save your floors and keep them looking fresh.
Identify whether the stain is surface-level or deep before choosing a removal method.
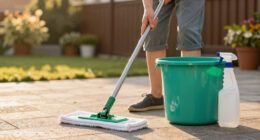
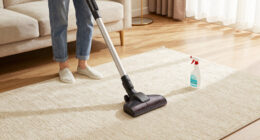
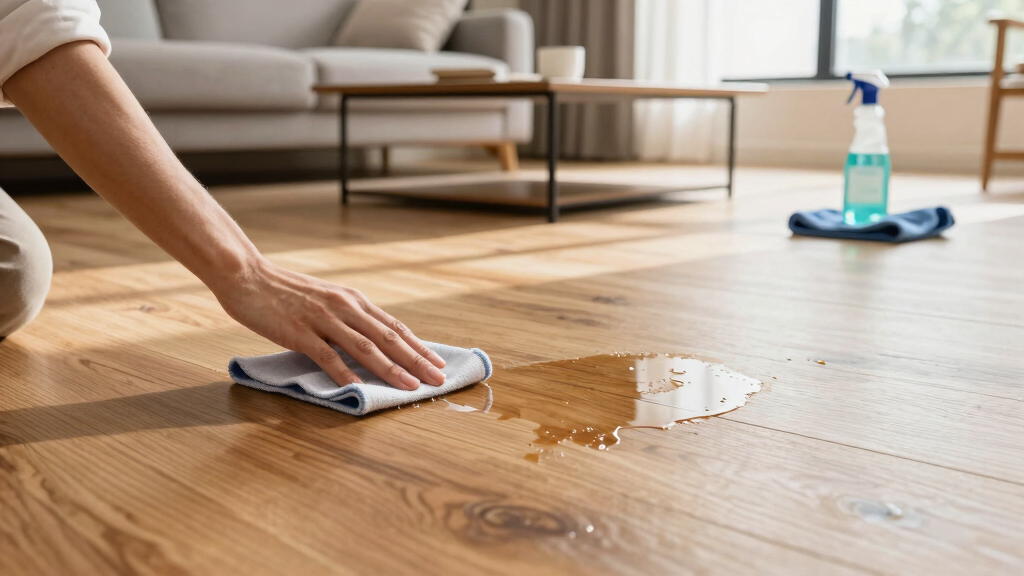
Use gentle, household techniques like heat, baking soda, or vinegar first—avoid aggressive sanding unless necessary.
Act quickly after a spill to prevent water stains from setting in permanently.
Prevent future stains by using coasters, wiping spills promptly, and maintaining protective finishes.
Deep stains may require professional refinishing to restore your hardwood’s beauty.
How to Remove Water Stains From Hardwood
Water stains look alarming, but most start as trapped moisture or mineral residue near the finish. The right move is calm and precise: identify the stain, start with the gentlest method, and escalate only when the mark has moved deeper into the wood.
Quick action protects the finish; patient treatment protects the wood.
Identify the Stain Before You Touch It
Hardwood water marks fall into two practical categories. White or cloudy stains usually sit near the finish and are often reversible. Dark or black stains suggest moisture reached the wood grain, which means DIY treatments need more caution.
Trapped Moisture
A hazy ring usually means moisture or mineral deposits are caught beneath the finish. Heat, dry cloths, and mild pastes are the safest first moves.
Wood-Level Damage
Dark marks often point to water infiltration, mold risk, or discoloration inside the grain. These stains may need sanding, refinishing, or a professional assessment.
Depth Controls Method
Choosing based on stain depth avoids unnecessary sanding and helps preserve the floor’s finish, sheen, and long-term durability.

WOCA Denmark Tannin Spot Remover – Removes Black Stains and Rings On Wood Furniture, Wood Cabinets, Wood Floors and Millwork – 9oz
STAIN REMOVER – Removes black stains caused by water and tannins on oak wood surfaces finished with wax,…
As an affiliate, we earn on qualifying purchases.
As an affiliate, we earn on qualifying purchases.
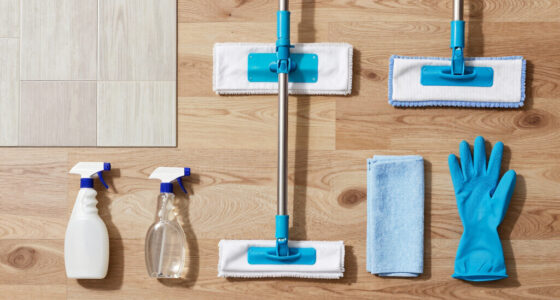
Removal Methods Ranked by Risk
Start with the least invasive option and stop as soon as the stain improves. The goal is to release moisture or residue without stripping the protective finish.
| Method | Best For | Finish Safety | Speed | When to Avoid |
|---|---|---|---|---|
| Hairdryer or warm iron over cloth | White haze and fresh rings | ✓ High | Minutes | Do not overheat or leave heat in one spot |
| Baking soda paste | Mineral residue and light surface marks | ✓ High | Minutes to hours | Avoid aggressive scrubbing |
| Vinegar wipe | Light mineral buildup | ~ Moderate | Minutes | Do not soak hardwood or use on vulnerable finishes |
| Mineral spirits | Finish-safe cleaning when residue remains | ~ Moderate | Minutes | Test first and ventilate well |
| Sanding and refinishing | Dark, stubborn, or embedded stains | ✗ Low | Hours to days | Avoid if you cannot blend the repair evenly |

Weiman Wood Restore and Repair Kit, Wood Floor Scratch Repair, Furniture Markers Touch Up, Cabinet Cleaner, Removes Dirt & Reduces Scratches, Safe for Table, Desk, & Chair, UV Shield Technology
Wood Cleaner & Restorer: Weiman Wood Cabinet Cleaner and Restorer effortlessly lifts dirt, grease, and grime while conditioning…
As an affiliate, we earn on qualifying purchases.
As an affiliate, we earn on qualifying purchases.
The Gentle-First Workflow
Most surface stains improve when you combine speed, dryness, and restraint. This sequence keeps the repair controlled before you move toward refinishing.
DIY Success Likelihood by Stain Type
Escalation Scale
Move right only when the previous step fails. More force can solve deeper stains, but it also raises the chance of uneven finish, dull spots, or visible repair edges.
Use heat carefully
Place a clean cloth between the floor and the iron, use low heat, and check the surface often. The aim is evaporation, not cooking the finish.
Know when to stop
If the stain darkens, spreads, or does not respond after repeated gentle attempts, deeper damage is likely and refinishing may be the cleaner path.

Weiman Hardwood Floor Cleaner and Polish Restorer Combo – 2 Pack – High-Traffic Hardwood Floor, Natural Shine, Removes Scratches, Leaves Protective Layer
Restore – Micro-filling technology removes scratches while forming a protective scratch resistant layer
As an affiliate, we earn on qualifying purchases.
As an affiliate, we earn on qualifying purchases.
Five-Step Repair Flow
A simple process keeps you from overcorrecting. Treat the floor like a finished surface first and a repair project only if the stain proves stubborn.
Blot Dry
Remove remaining moisture with a clean, absorbent cloth.
Classify
Check whether the mark is white and cloudy or dark and embedded.
Warm Gently
Use a hairdryer or low iron over cloth for surface haze.
Clean Mildly
Try baking soda paste or a careful vinegar wipe if residue remains.
Refinish
Escalate to fine sanding or a professional for deep stains.

Quick Shine Multi Surface Floor Finish 64oz | Cleaner & Polish to use on Hardwood, Laminate, Luxury Vinyl Plank LVT, Tile & Stone | Safer Choice w/Clean Shine Technology | Shine-Protect-Refresh
Use on Hardwood, Laminate, LVT-Luxury Vinyl Tile, LVP-Luxury Vinyl Plank, Tile or Stone floors
As an affiliate, we earn on qualifying purchases.
As an affiliate, we earn on qualifying purchases.
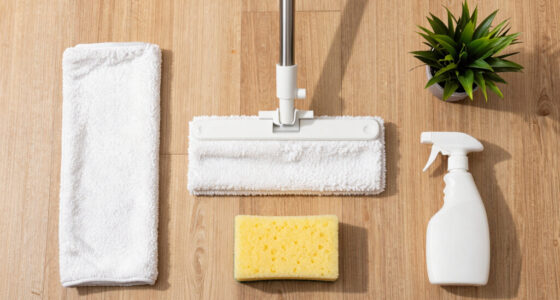
Prevention Beats Repair
Water stains are often caused by prolonged moisture exposure. Coasters, mats, prompt cleanup, and maintained protective coatings keep small spills from becoming permanent marks.
Frequently Asked Questions
These are the questions that matter when you want the stain gone without trading it for a bigger floor problem.
Can I remove water stains without damaging the finish?
Yes. Gentle heat, baking soda paste, and careful wiping often remove surface stains. Test first in a hidden area.
Are natural remedies safe for hardwood?
Usually, when used sparingly. Avoid soaking the floor, harsh chemicals, or abrasive scrubbing that can dull the finish.
How long do home methods take?
Fresh white stains may improve within minutes. Older stains can take repeated treatments over several hours.
When should I call a professional?
Call when stains are dark, deep, widespread, or paired with damaged finish, soft wood, or possible leaks.
Identify the Water Stain Type — Know What You’re Up Against
Water stains come in two main flavors: white or cloudy and dark or black. White stains usually mean mineral deposits or moisture trapped beneath the finish. Think of it like salt crystals forming on your kitchen sink after a spill. These surface-level stains are often less severe and can sometimes be reversed if caught early. Dark stains, however, often indicate deeper issues such as mold, mildew, or water seeping into the wood grain itself. These are more serious because they can compromise the structural integrity of your flooring if ignored. Recognizing the type of stain helps determine the appropriate response—quick surface treatments for white stains versus potential refinishing or professional intervention for dark, embedded stains. Understanding these distinctions prevents unnecessary work and ensures you choose the most effective remedy, saving time and money in the long run.
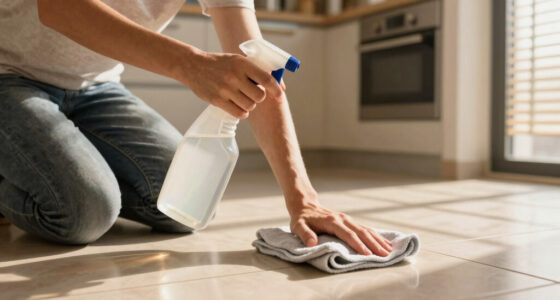
Quick Fixes for Water Stains — Your First Line of Defense
Most water stains respond well to gentle, immediate treatment. These quick fixes can prevent the stain from setting in permanently or spreading deeper into the wood. For example, applying heat can help evaporate trapped moisture or mineral deposits that cause the white haze. Using household items like baking soda or vinegar can neutralize the mineral buildup or loosen the stain, but their effectiveness depends on the stain’s depth and severity. It’s important to act swiftly—delaying treatment can allow water to penetrate further, making the stain harder to remove and increasing the risk of wood damage. These methods are cost-effective and accessible, but they also require patience and careful application. The goal is to neutralize the cause without harming the finish, maintaining the floor’s appearance and durability. Properly executed, these techniques can save your floor from more invasive repairs later.
When to Sand and Refinish — For Stubborn or Deep Stains
If household tricks don’t do the trick, the stain might be deeper than it appears on the surface. Deep or persistent stains often indicate that moisture or discoloration has penetrated the wood’s finish and even the wood itself. Sanding and refinishing become necessary because superficial treatments won’t reach these embedded issues. Lightly sanding the affected area with fine-grit sandpaper (around 220 grit) can lift the stain by removing the damaged finish and a thin layer of the top wood. However, this process involves a tradeoff: over-sanding can thin or weaken the wood, creating new vulnerabilities or uneven surfaces. For severe or widespread stains, professional refinishing ensures a uniform, durable result without risking further damage. Recognizing when to escalate from DIY fixes to professional help is crucial—attempting extensive sanding without proper skill can worsen the problem or compromise your flooring’s lifespan.