
TL;DR
Most water stains on hardwood floors are removable with household items or gentle cleaning methods. Deep stains may need sanding or professional help, but quick action and prevention are key to keeping floors beautiful.
Nothing ruins the look of a beautiful hardwood floor faster than a water stain. Whether it’s a spilled glass of water or a leak in the pipe, these marks can seem permanent — but they’re often not. The good news: with a few simple tricks, you can often restore your floor’s original shine without costly refinishing.
In this guide, you’ll learn how to identify different water stains, the best DIY methods for removal, and when to call in a pro. Protect your investment and keep your floors looking fresh with these practical, honest tips.
Identify the type of water stain before choosing a removal method; white stains often lift easily, black stains may require sanding.
Start with household remedies like heat or gentle abrasives to save time and money, reserving sanding for deep stains.
Always test cleaning or repair methods on a small, hidden patch first to avoid further damage.
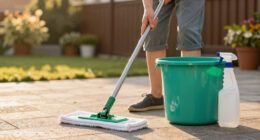
Prevention, through quick spill cleanup and moisture control, is the best way to keep water stains from forming.
When in doubt, especially with stubborn or deep stains, consulting a flooring professional can save you headaches.
How to Remove Water Stains From Hardwood
TL;DR: Most water stains on hardwood floors are removable with household items or gentle cleaning methods. White stains usually sit near the finish and respond to heat or mild abrasives. Dark stains mean water has gone deeper and may need sanding, refinishing, or professional repair.
The first fix is diagnosis.
Before reaching for heat, vinegar, baking soda, or sandpaper, identify whether the mark is cloudy white or dark black. The color tells you how deep the moisture has traveled.
Try every method on a hidden patch before treating the visible floor.
Low heat and mild cleaning beat aggressive scrubbing almost every time.
Moisture is often trapped beneath the finish, not deep in the wood.
Black marks can signal penetration, mold risk, or finish failure.
Fine-grit sandpaper is a cautious option when light methods fail.
Prompt spill cleanup and humidity control reduce future stains.
Read the stain before you treat it.
Water stains are not all the same. A cloudy ring from a glass left overnight behaves very differently from a black patch caused by a slow leak. Matching the remedy to the stain type protects the finish and prevents unnecessary refinishing.
White or cloudy marks
Likely cause: moisture or minerals trapped beneath the finish. These are usually the best candidates for heat, toothpaste, baking soda paste, or gentle cleaning.
Dark or black marks
Likely cause: moisture has penetrated the wood itself. These stains often require sanding, refinishing, plank repair, or professional assessment.
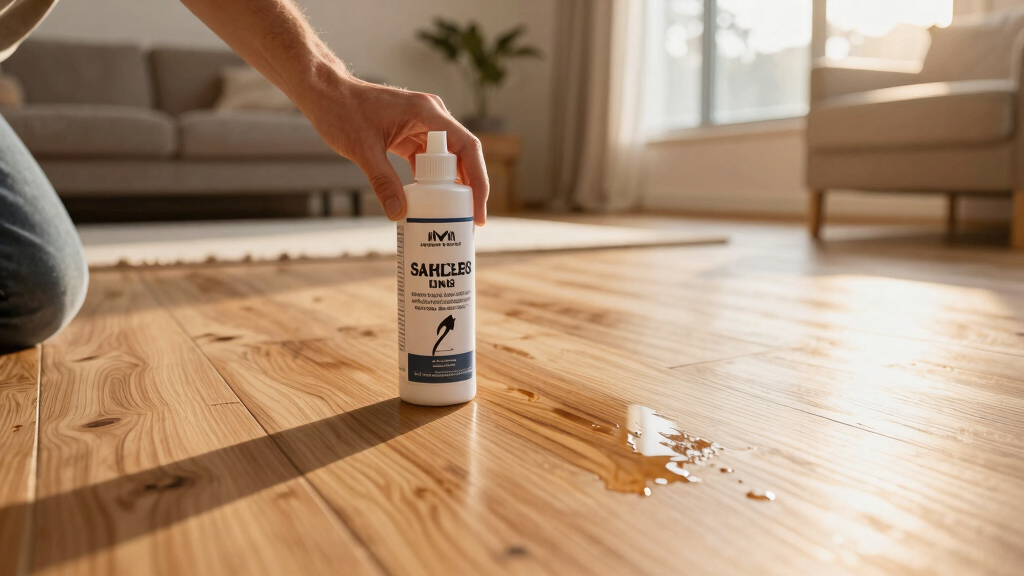
Fresh spill haze
Likely cause: recent surface moisture. Blot dry, allow airflow, then use low heat only if the finish is stable and the spot stays cloudy.

WOCA Denmark Tannin Spot Remover – Removes Black Stains and Rings On Wood Furniture, Wood Cabinets, Wood Floors and Millwork – 9oz
STAIN REMOVER – Removes black stains caused by water and tannins on oak wood surfaces finished with wax,…
As an affiliate, we earn on qualifying purchases.
As an affiliate, we earn on qualifying purchases.
The safe repair sequence.
Move from low-risk to higher-risk methods. Stop when the stain lifts, and never jump straight to sanding unless the stain is clearly deep or old.
Blot & dry
Remove standing moisture and let the area breathe before applying any treatment.
Test hidden spot
Check heat, cleaner, or paste on an inconspicuous area first.
Try household fix
Use a warm iron over cloth, baking soda paste, or mild soap solution.
Sand lightly
Use fine grit only when the stain has entered the wood surface.
Refinish or call
Blend stain and sealant, or bring in a flooring professional for deep damage.

REALINN Wood Furniture Repair Kit- Set of 28 – Touch Up Markers, Fillers with Wood Putty – Repair Scratch, Cracks, Hole, Discoloration for Wooden Door, Floor, Table, Cabinet
KIT INCLUDES our most powerful wood repair compounds, so you can repair all levels of damage to wood…
As an affiliate, we earn on qualifying purchases.
As an affiliate, we earn on qualifying purchases.
Method comparison.
Start with the least invasive option that matches the stain. Heat evaporates trapped moisture, mild abrasives lift cloudy residue, and sanding removes damaged wood fibers when surface fixes are not enough.
| Removal method | Best for | Risk level | Finish friendly | When to stop |
|---|---|---|---|---|
| Warm iron + clean cloth | White cloudy stains | ~ Medium | ✓ Yes, with low heat | If finish softens, dulls, or becomes tacky |
| Baking soda paste | Light surface haze | ✓ Low | ~ Usually | If rubbing creates scratches or dull spots |
| Vinegar + olive oil | Minor marks and lost luster | ✓ Low | ~ Test first | If the floor becomes slippery or unevenly shiny |
| Fine sanding + matching finish | Dark, stubborn, old stains | ✗ Higher | ✗ Removes finish | If color mismatch spreads beyond the repair area |
| Professional refinishing | Deep damage, leaks, large areas | ✓ Controlled | ✓ Best for severe cases | Use when DIY would make the repair more visible |

Mercer Industries 426036 Silicon Carbide Floor Sanding Disc, Cloth Back, 16" x 2" Hole, Grit 36X, 20-Pack
20 – 16" diameter cloth floor sanding discs for hardwood or concrete per box (2" hole in center…
As an affiliate, we earn on qualifying purchases.
As an affiliate, we earn on qualifying purchases.
What usually works first?
Surface stains respond best to gentle methods. Deep stains shift the balance toward sanding and refinishing because the damage is below the finish rather than sitting in it.
DIY suitability by stain type
Damage depth spectrum
The darker and older the mark, the more likely the repair needs to remove damaged finish or stained wood fibers.

Bioclean Hard Water Stain Remover, 20.3oz
PROFESSIONAL HARD WATER STAIN REMOVER: Get the powerful industrial and commercial strength that takes stains, spots, and rust…
As an affiliate, we earn on qualifying purchases.
As an affiliate, we earn on qualifying purchases.
When household remedies fail.
Persistent stains usually mean the water has moved past the finish. Sanding can work, but the repair must be small, even, and sealed afterward so the floor does not remain vulnerable.
Use sanding as a controlled repair, not a first impulse.
Fine-grit sanding around 220 grit can reveal fresh wood, but over-sanding creates uneven texture and a visible patch. After sanding, match the stain and apply a compatible sealant.
If the area is large, black, soft, musty, or tied to a leak, a flooring professional can prevent a small repair from becoming a full-floor refinish.
- Call a pro when stains are deep, spreading, or linked to ongoing moisture.
- Avoid harsh chemicals because they can strip or cloud the finish.
- Do not scrub aggressively because scratches can outlast the stain.
- Refinish after sanding so the exposed wood is protected again.
Trace the fix from spill to shine.
A good hardwood repair is a chain of small decisions: fast cleanup, careful diagnosis, gentle treatment, and long-term moisture control.
Spill
Blot immediately and remove standing water before it sinks in.
Identify
White means surface moisture; black often means deeper damage.
Test
Try the method in a hidden area before treating the stain.
Treat
Use heat, mild cleaners, gentle abrasion, or sanding as needed.
Prevent
Control humidity, use mats, seal properly, and clean spills fast.
Quick answers homeowners ask.
Most minor marks can be handled without major repair. The trick is patience, testing, and knowing when the stain has moved beyond the finish.
Can I remove stains without sanding?
Yes. Many surface stains respond to heat, baking soda, mild soap, or gentle cleaning. Deep or old stains may still need sanding.
What household items are safe?
Baking soda paste, gentle dish soap, and small amounts of vinegar and olive oil can be safe when tested first on a hidden area.
How long do results take?
Some white stains lift quickly. Others need repeated gentle treatments over several days. Deep stains take longer because refinishing may be required.
Will the finish be damaged?
Careful methods usually protect the finish. Excess heat, harsh chemicals, and aggressive scrubbing are the common ways repairs go wrong.
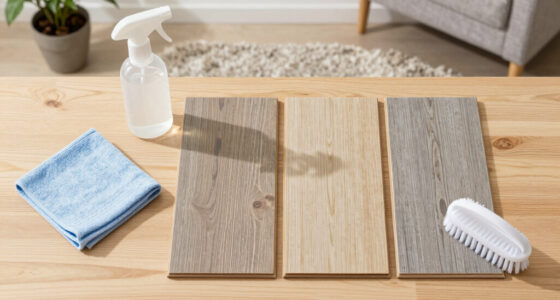
Identify Your Water Stain Type to Pick the Right Fix
Water stains on hardwood floors come in two main types: white or cloudy, and dark or black. White stains are usually caused by minerals or moisture trapped beneath the finish, which can interfere with the floor’s appearance and potentially lead to further damage if not addressed. Dark stains often indicate mold, rot, or deep penetration into the wood, which can compromise the structural integrity of the flooring over time. Recognizing the difference is crucial because it guides your approach—white stains might be lifted with surface treatment, while dark stains often require more invasive repairs like sanding or replacing affected planks. Ignoring the stain type can lead to ineffective repairs or worsening damage, so take a moment to assess carefully before proceeding.
For example, a white ring from a glass left out overnight might lift easily with heat or cleaning, but a black patch from a slow leak could require more aggressive treatment or professional intervention. Knowing what you’re dealing with helps prevent unnecessary work or further damage.
Tip: Test the stain with a small, inconspicuous area before applying any remedies over a larger spot. This helps you gauge the potential effectiveness and avoid worsening the stain or damaging the finish.
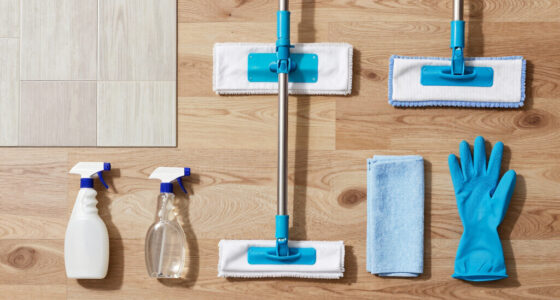
Quick DIY Fixes for Surface Water Stains
Many surface water stains respond well to household remedies, but understanding why these methods work is key. Heat, for instance, helps evaporate moisture trapped beneath the finish, effectively lifting the white stain without harming the wood or finish if done carefully. Using household items like baking soda or vinegar takes advantage of their mild abrasive or cleaning properties to gently lift stains without aggressive scrubbing, which can scratch or damage the surface. These methods are cost-effective and usually safe, but they work best on fresh, surface-level stains. If the stain persists or deepens, it indicates that the damage has penetrated further, and more intensive methods may be necessary. Always consider the stain’s depth and the finish type because improper use of heat or abrasives can cause discoloration or finish degradation, making the problem worse rather than better.
Following these steps diligently can save you time and money, but remember: patience and gentle handling are critical. Rushing or applying excessive heat can damage the finish, leading to more extensive repairs down the line.
When Household Remedies Fail: Sanding and Refinishing
If your water stain is deep or stubborn, surface remedies might not suffice because the damage extends below the finish into the wood itself. Sanding becomes necessary to remove the stained layer, but it must be done carefully. Using fine-grit sandpaper (around 220 grit) helps gently abrade the surface without removing too much material or damaging the surrounding finish. This process reveals a fresh layer of wood, which can then be refinished to match the rest of the floor. The tradeoff, however, is that improper sanding can create uneven surfaces, scratches, or even remove the protective finish completely, exposing the wood to future damage. It’s essential to sand only the affected area or a small surrounding section to maintain uniformity. After sanding, applying a matching stain or sealant is critical to blend the repair seamlessly with the existing floor, restoring both appearance and protection. This method is effective but requires patience and attention to detail; otherwise, it can lead to more visible repairs or uneven surfaces. When in doubt, hiring a professional can ensure a smooth, consistent finish that preserves your floor’s integrity and aesthetic appeal.
Frequently Asked Questions
Can I remove water stains from hardwood without sanding?
Yes, many surface stains respond well to household remedies like heat, baking soda, or mild cleaning solutions. Deep or old stains may need sanding or refinishing, but most minor marks can be handled with gentle methods.What household items are safe to use on hardwood water stains?
Common safe options include a mixture of vinegar and olive oil, baking soda paste, or a damp cloth with a small amount of gentle dish soap. Always test first on a hidden area to prevent damage.How long does it take to see results after cleaning?
Results vary. Some stains lift immediately with heat or cleaning, while others may require repeated treatments over several days. Deep stains might need professional refinishing, which takes longer.Will removing water stains damage the finish?
If you follow tested methods and avoid harsh chemicals or aggressive scrubbing, most cleaning and light sanding won’t harm your finish. Always test first to avoid accidental damage.When should I call a professional?
If stains are deep, persistent, or you’re unsure about the process, it’s safest to consult a flooring expert. They can assess the damage and recommend the best course to preserve your hardwood.Conclusion
Water stains on hardwood floors aren’t the end of the world. With a little patience and the right approach, you can often restore your floor’s beauty without major repairs. Remember: acting quickly and choosing the right method makes all the difference.
Next time a spill happens, don’t panic. Grab a cloth, try a gentle heat, and keep your floors dry. Your hardwood will thank you with years of shining through every step.