TL;DR

Get cleaning gear delivered free — and shop member deals
- Fast, free delivery on millions of items
- Access to Prime Big Deal Days deals on October 6–7
- Prime Video, Amazon Music and more included
Cleaning your bathroom exhaust fan every 6-12 months keeps it running efficiently and prevents mold buildup. The process involves turning off power, removing the cover, dusting and washing components, then reassembling. Modern fans with self-cleaning features can make maintenance even easier.
Ever opened your bathroom door after a shower and smelled that damp, musty odor lingering? Chances are, your exhaust fan isn’t working at its best. Most homeowners overlook this crucial part of bathroom maintenance, but a clean fan makes a big difference in air quality and mold prevention.
In this guide, you’ll learn the simple, effective steps to clean your bathroom exhaust fan properly. No fancy tools or tech jargon—just straightforward advice to keep your bathroom fresh and your fan lasting longer.
Regularly clean your bathroom exhaust fan every 6-12 months to maintain air quality and prevent mold.
Always turn off power before cleaning to avoid electrical shocks, and handle components carefully.
Use gentle, non-toxic cleaners like vinegar or mild soap, and avoid harsh chemicals that can damage your fan.
Modern fans with self-cleaning features can reduce maintenance time significantly.
Signs like poor airflow or persistent odors indicate it’s time for a deep clean or professional repair.
How to Safely Access Your Bathroom Exhaust Fan
The first step in cleaning your bathroom exhaust fan is safety. Always turn off the power at the circuit breaker before touching any electrical components. This step is crucial because working on electrical fixtures while live can result in electric shock or short circuits, which pose serious safety risks. Using a sturdy step ladder ensures stability and prevents falls while reaching the fan. Most covers or grilles are attached with screws or clips; carefully remove them, noting how they fit for easy reinstallation. Remember: never work on electrical fixtures with the power on. For example, if your fan is in a tight corner, a lightweight ladder with rubber feet can prevent slips and keep you stable while working. Proper safety precautions aren’t just about avoiding injury—they also protect your electrical system from accidental damage that could lead to costly repairs later.
As an affiliate, we earn on qualifying purchases.
The Fast Track to a Cleaner Fan Cover and Grille
The fan cover or grille is often the dirtiest part, collecting dust, soap scum, and even mold. This accumulation not only looks unsightly but can significantly impede airflow, reducing the fan’s efficiency in removing moisture. To clean it, soak it in warm water mixed with a few drops of mild dish soap or vinegar. Let it sit for 10-15 minutes to loosen stubborn grime and kill mold spores, which are common in damp environments. Use a soft brush or sponge to scrub away grime, then rinse with clean water. Dry thoroughly before reattaching. This step is vital because dust and mold particles can recirculate into your bathroom air, worsening allergies or respiratory issues. Imagine the gleam of a freshly cleaned grille, with dust and grime washed away—like a tiny, shining face lift for your bathroom. Regular cleaning of this component maintains good airflow, prevents mold spread, and extends the life of your fan’s parts by reducing buildup that can cause mechanical strain over time.
self-cleaning bathroom exhaust fan
As an affiliate, we earn on qualifying purchases.
As an affiliate, we earn on qualifying purchases.
Cleaning the Fan Blades and Motor—What Really Works
To clean the fan blades and motor, start with a vacuum cleaner equipped with a brush attachment. Gently remove loose dust and debris from the blades and motor housing. This initial step is important because accumulated dust can cause imbalance, leading to vibrations, noise, and even premature motor wear. If dirt stubbornly clings, dampen a microfiber cloth with mild vinegar solution or soapy water. Wipe the blades carefully, avoiding excessive moisture near the motor—moisture can cause electrical issues or rust over time. For example, if your fan is several years old, this step can revive its airflow and quiet it down by removing built-up grime that hampers rotation. Remember: dust buildup can cause the fan to strain or make noise, so regular cleaning keeps it running smoothly and prevents costly repairs or replacements caused by mechanical failure.
As an affiliate, we earn on qualifying purchases.
Reassemble and Test Your Cleaned Fan in 3 Easy Steps
Once everything is dry, reattach the cover or grille securely. Double-check that all screws or clips are tight to prevent rattling or vibration. Proper reassembly ensures the fan operates quietly and efficiently without loose parts that could cause damage. Turn the power back on at the circuit breaker, then run the fan for a few minutes. Listen for unusual noises and check for proper airflow. If it’s quieter and feels stronger, you’ve done it right. Pro tip: mark the cover’s position before removing it so reinstallation is quick and accurate, reducing the risk of misalignment that can affect airflow and noise levels. Proper reassembly guarantees your fan functions optimally, saving energy and prolonging its lifespan.
As an affiliate, we earn on qualifying purchases.
How Often Should You Clean Your Bathroom Exhaust Fan?
Most experts recommend cleaning your bathroom exhaust fan every 6 to 12 months. In high-humidity environments, like those with frequent showers or baths, aim for every 6 months. This frequency helps prevent excessive dust and mold buildup that can compromise air quality and damage the fan’s motor. If you notice reduced airflow, lingering odors, or visible dust, it’s a sign to clean sooner. Regular maintenance prevents mold growth and keeps your bathroom smelling fresh while also reducing the risk of costly repairs caused by neglected buildup. For example, a family with daily showers might find biannual cleaning necessary to keep mold at bay, while a guest bathroom that’s rarely used can stretch to once a year without issue. The tradeoff is between effort and ongoing health benefits—more frequent cleaning means less chance of mold and mechanical failure, ultimately saving money and maintaining a healthier environment.
What Are the Newest Innovations in Bathroom Fan Cleaning?
Modern exhaust fans now feature self-cleaning mechanisms, antimicrobial coatings, and smart sensors. These innovations help reduce dust buildup and mold growth, making maintenance easier and safer. Self-cleaning fans often activate a cleaning cycle weekly, using built-in sprays or vibrations to loosen and remove dirt without manual intervention. Antimicrobial coatings inhibit mold and bacteria growth on fan components, which is especially beneficial in humid environments. Some fans incorporate smart sensors that detect dirt accumulation or humidity levels, alerting homeowners when cleaning is needed or automatically initiating cleaning cycles. While these features can be pricier initially, they offer significant long-term benefits by reducing routine maintenance time, improving indoor air quality, and extending the lifespan of the fan. For busy households or those with mold sensitivities, investing in these advanced models can be a game-changer, balancing convenience with health benefits.
What Products Make Cleaning Your Fan Safer and Easier?
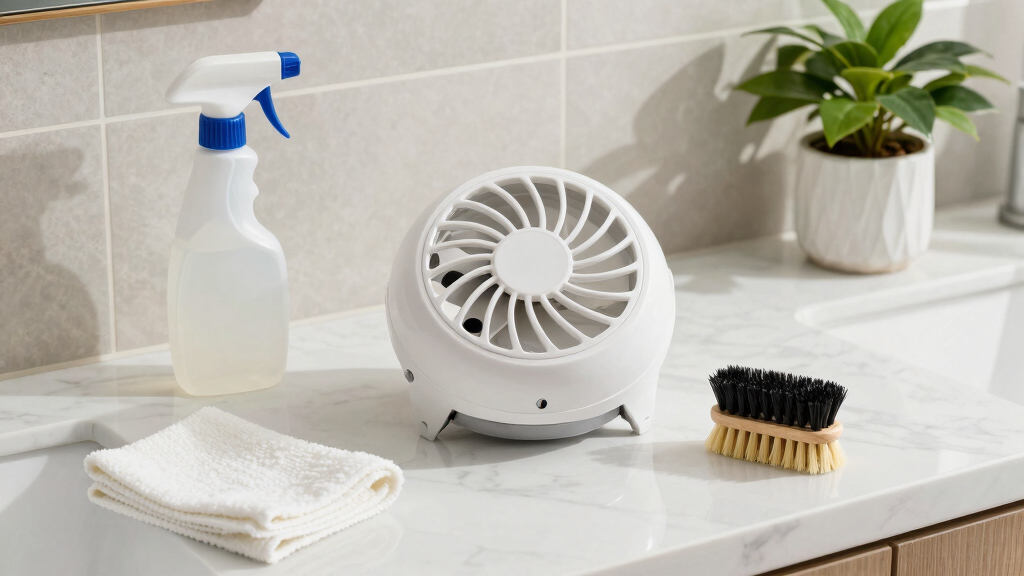
Stick to mild, non-toxic cleaners like vinegar, baking soda, or gentle dish soap. Avoid harsh chemicals that can damage plastic parts or electric components, which might lead to leaks, corrosion, or reduced lifespan. Using microfiber cloths, soft brushes, and vacuum attachments makes dust removal easier without scratching surfaces or damaging delicate parts. For example, a soft-bristled toothbrush can reach into tight spaces around the blades and motor, ensuring thorough cleaning without harm. Biodegradable cleaning products are also a good choice, especially if you’re sensitive to fumes or want to keep your home eco-friendly. Choosing safe products not only protects your fan’s components but also ensures that your indoor air remains free of potentially harmful chemical residues, contributing to a healthier living environment.
Signs Your Fan Needs More Than Just Cleaning
If your fan is making loud noises, producing less airflow, or emitting a burning smell, it’s time to look beyond cleaning. Dust and grime aren’t the only issues—mechanical failure or electrical problems can be at play, which might require professional diagnosis. For example, a fan that suddenly stops working or turns on and off by itself may have a motor or wiring issue needing repair or replacement. Persistent odors despite cleaning suggest underlying electrical or mechanical problems, such as a failing capacitor or motor burnout. Ignoring these signs can lead to complete fan failure or even fire hazards. In these cases, consulting a professional ensures your fan remains safe, functional, and compliant with electrical standards, ultimately saving you money and preventing potential safety hazards.
Frequently Asked Questions
How often should I clean my bathroom exhaust fan?
Most homes benefit from cleaning every 6 to 12 months. If your bathroom has high humidity or frequent use, aim for every 6 months to prevent mold and maintain airflow.
Is it safe to clean the fan myself?
Yes, as long as you turn off the power and follow safety precautions. Use proper tools and handle components gently to avoid damage or electrical hazards.
What cleaning products are best for bathroom exhaust fans?
Opt for mild solutions like vinegar, baking soda, or gentle dish soap. Avoid harsh chemicals that can corrode plastic or damage electrical parts.
My fan makes noise, does it need cleaning?
Often, yes. Dust buildup on blades or motor parts can cause noise and reduce efficiency. Regular cleaning usually quiets it down.
Can I upgrade to a self-cleaning exhaust fan?
Yes, but installation might require professional help to ensure compatibility and safety. Self-cleaning features can cut down on routine maintenance and improve longevity.
Conclusion
Keeping your bathroom exhaust fan clean isn’t just about removing dust. It’s about preserving healthy air, preventing mold, and extending the life of your fan. With a few simple steps—turn off power, remove the cover, clean thoroughly, then reassemble—you control your bathroom’s air quality.
Next time you notice that faint damp smell or a drop in airflow, remember: a clean fan is a healthy fan. Take a few minutes to give it some TLC—you’ll thank yourself every time you step into a fresh, dry bathroom.
Halloween Picks
halloween
As an affiliate, we earn on qualifying purchases.