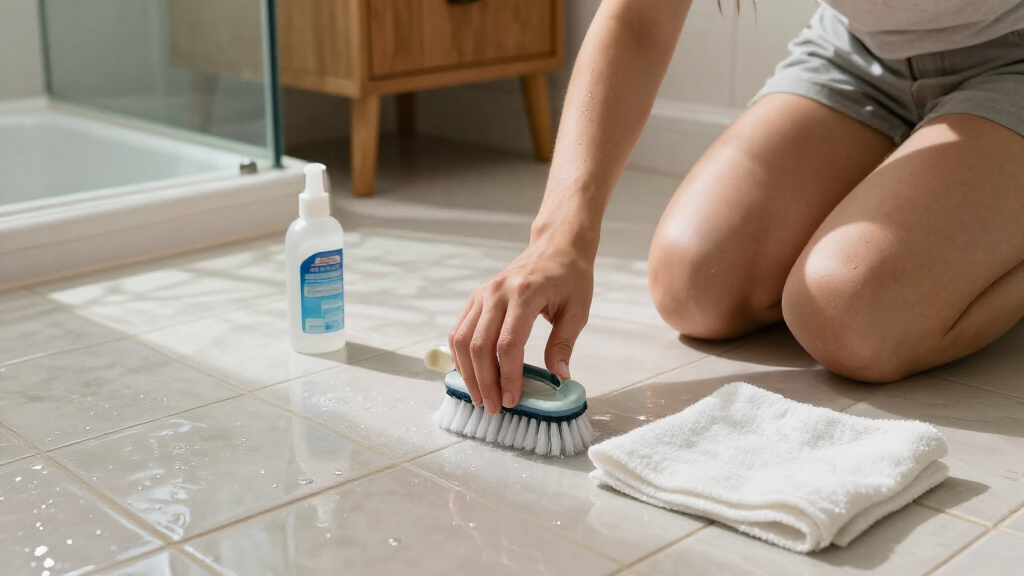

TL;DR

Get cleaning gear delivered free with Prime
- Fast, free delivery on millions of items
- Prime Video, Amazon Music and more included
- Member-only deals all year
To clean bathroom tile without damaging grout, first identify the tile and grout, then remove loose grit and use warm water with a compatible pH-neutral cleaner. Work in small sections with a soft sponge or nylon brush, follow the cleaner label, and rinse well. Avoid vinegar on natural stone, abrasive scrubbing, and mixing bleach with any other cleaner.
A grout line can go from pale to gray in the time it takes soap scum to dry. Reach for the wrong cleaner or scrub with a stiff brush, though, and you can trade a dirty-looking joint for etched stone or worn grout.
You can clean bathroom tile without damaging the grout by matching your method to the materials. This guide shows you how to identify the surface, start with a gentle routine, handle stubborn marks carefully, and reduce the damp conditions that make stains return. A small test patch and a thorough rinse can save you from a much larger repair.
Identify tile and grout before selecting a cleaner; protect natural stone from acids such as vinegar.
Remove loose grit, clean small sections with a compatible pH-neutral product, and use a soft sponge or nylon brush.
Follow the cleaner label and rinse thoroughly so residue does not leave a film or attract dirt.
Treat persistent mildew by addressing dampness and ventilation as well as cleaning the surface.
Repair cracked or missing grout; sealing can help suitable grout resist stains but does not remove the need for upkeep.
Check your tile and grout before choosing a cleaner
To clean bathroom tile without damaging the grout, identify both materials first, because a cleaner that suits porcelain can harm natural stone or cement-based grout. Ceramic and porcelain are generally durable, while marble, limestone, and travertine can be etched by acids such as vinegar. Grout also varies: cement-based grout is porous, while epoxy grout has different properties and still needs a compatible cleaner.
Check any installation paperwork, care instructions, or product labels you still have. If you cannot tell whether a tile is stone or a manufactured surface, treat it as delicate until you confirm. For example, a white tile with a glossy face might look like ceramic, but a polished marble accent strip beside it needs a different approach.
Before cleaning the whole wall or floor, test the selected cleaner in a discreet spot and follow its label. Look for changes in color, gloss, or texture after rinsing and drying. That small check is like testing a new paint color behind a door: it lets you catch an unwanted change before it spreads across the room.
Choose for the most delicate material in the area. If stone tile and grout share a surface, the stone’s care needs should guide your cleaner choice.
Products Worth Considering

Samsung 42-Inch Class OLED S90F 4K Smart TV (2025)

Philips Hue Secure Wired Video Doorbell, 2K, Black

Blueair Blue Pure 211i Max Smart Air Purifier for Large Rooms
As an affiliate, we earn on qualifying purchases.
Use this gentle routine for everyday soap scum
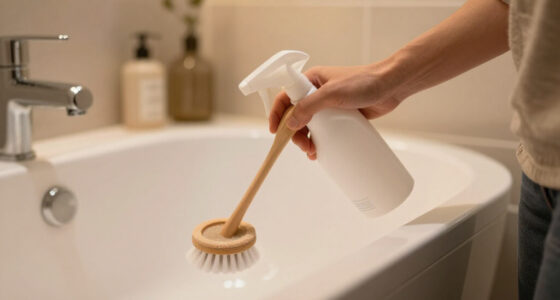
For routine grime, start with warm water, a compatible pH-neutral cleaner, and a soft sponge or nylon brush. Remove grit before scrubbing so loose particles do not drag across the tile like sandpaper. Then clean a small area at a time, respect the product’s stated contact time, and rinse away residue thoroughly.
- Clear loose debris. Sweep or vacuum the floor, or wipe dust and hair from the wall and corners.
- Apply a suitable cleaner. Follow the label, including any dilution and dwell-time directions.
- Scrub gently. Use a soft sponge or nylon brush, especially along grout lines.
- Rinse and dry. Remove cleaner film with clean water, then use a towel or squeegee where practical.
Imagine cleaning the shower after a week of daily use. A thin, slippery film sits near the tap and a pale ring shows around the soap dish. Small sections let you see whether the cleaner is lifting the film before you repeat the process over a whole wall.
Skip steel wool, abrasive pads, and stiff metal brushes. They can scratch tile or wear grout, and they do not make a questionable cleaner safer. Rinsing matters too: residue can leave a dull film or attract new dirt, making a cleaned floor look grimy again.
Pick a cleaner that matches the surface
The safest cleaner depends on whether you have ceramic, porcelain, natural stone, sealed grout, or unsealed grout. A pH-neutral product labeled for the materials is a practical starting point, while household ingredients can carry limits that are easy to miss. Read the label and follow care directions for your particular tile and grout.
| Surface or product | What to keep in mind | Practical choice |
|---|---|---|
| Ceramic or porcelain | Generally durable, though finishes and grout still vary. | Use a compatible cleaner and test a discreet spot. |
| Marble, limestone, or travertine | Acids, including vinegar, can etch natural stone. | Choose a product labeled safe for that stone. |
| Cement-based grout | Porous grout can absorb moisture and stains; harsh acids and aggressive abrasion can harm it. | Use a grout-compatible cleaner and gentle pressure. |
| Baking soda paste | It can be mildly abrasive, especially on polished finishes. | Test first and avoid vigorous scrubbing. |
Vinegar is not a universal grout cleaner. It may suit some ceramic or porcelain areas, but avoid it on many natural stones and use caution with cement-based grout. A kitchen recipe that works on a glass jar can be too rough for a bathroom surface; the material sets the rules.
If you are cleaning a polished stone niche beside porcelain tile, do not assume one solution suits both. Use a cleaner compatible with the stone, or handle each surface with separate products and tools. Never mix cleaning products to create a stronger formula.
Lift stubborn grout marks without scrubbing hard
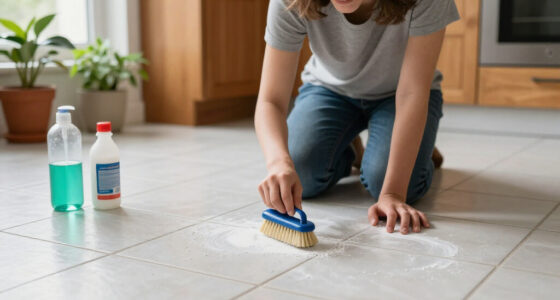
For stubborn marks, choose a grout-compatible stain treatment, give it only the label-directed contact time, and use gentle pressure with a soft or medium nylon brush. Baking soda paste may help with some marks, but its mild abrasiveness can affect grout or polished tile if you scrub forcefully. Test it in a hidden spot before using it across a visible area.
Suppose the grout beside your shower drain has a dark streak that a routine wipe did not remove. Apply a suitable cleaner as directed, wait the stated time, and brush with short, controlled strokes. If the mark remains, pause and check whether the grout is stained, worn, or damaged instead of repeating harder scrubbing.
Bleach can lighten some stains, but it can also discolor grout or nearby materials and does not fix a moisture problem. Only use it if the product label allows it for your surfaces; ventilate the room and follow every direction. Never mix bleach with ammonia, acids, or other cleaners. Mixing products can create dangerous fumes.
Dark grout does not always mean active mildew. Old staining, faded color, embedded grime, and uneven wear can resemble a fresh mark. Cleaning may not restore the grout’s original color, and that is a sign to consider repair or replacement rather than escalating to harsher chemicals.
Stop mildew from coming back by drying the room
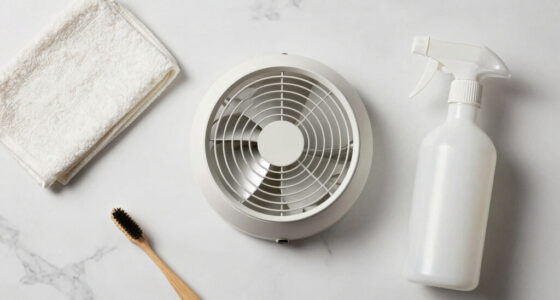
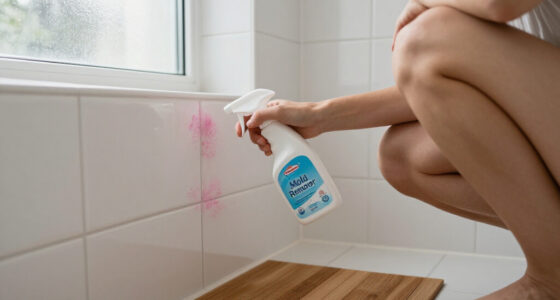
Recurring mildew often points to lingering moisture or poor ventilation, so cleaning alone may not keep it away. Use a grout-compatible cleaner as directed, but also improve airflow and dry wet surfaces when practical. If moisture keeps returning, look for a leak or another source instead of reaching for a stronger product each time.
After a morning shower, a quick squeegee pass over the tile and a few minutes with the fan running can help reduce the damp film on walls. If your bathroom has a window, opening it when conditions allow can also help the room dry. These small habits take less time than scrubbing dark corners every weekend.
For an everyday routine, wipe obvious spills and soap deposits before they dry into a stubborn film. Keep the shower curtain or door open when practical so wet surfaces can dry. If a patch keeps returning in the same corner, check the airflow and nearby plumbing; the stain may be a clue about persistent dampness.
Large or recurring mold growth, leaks, or water damage may need professional assessment, especially if the affected area extends beyond the tile surface. A surface cleaner cannot repair a leak behind a wall. Addressing the moisture source gives your cleaning routine a better chance to last.
Protect grout with careful rinsing and sensible upkeep
Protect grout between cleanings by rinsing away cleaner residue, drying wet areas when practical, and repairing cracked or missing sections. A sealer can reduce staining and water absorption on suitable grout, but it does not make grout maintenance-free or waterproof every installation. Follow the sealer maker’s directions for suitability, application, and reapplication.
Say you have a busy family bathroom where the floor gets splashed every morning. A towel near the bath and a quick wipe of puddles can reduce how long moisture sits on porous grout. If the grout is already cracked, though, a sealer is not a substitute for repair; the gap may let water reach places you cannot see.
There is no single sealing schedule that fits every grout and household. Wear, the product used, and the amount of moisture all matter. Check the grout and sealer instructions instead of relying on a universal calendar, and do not seal until the grout is in suitable condition for that product.
If a line crumbles when touched, sections are missing, or discoloration returns despite a compatible cleaning routine, ask whether repair or replacement makes more sense. Address any moisture issue first. A sound grout joint is easier to keep clean than one that traps water and debris in cracks.
Know when a dark grout line needs repair
Cleaning can remove surface grime, but it cannot rebuild crumbling grout or guarantee the return of an old grout line’s original color. Cracks, missing sections, persistent stains, and recurring moisture suggest the issue may go beyond routine cleaning. Check the surrounding area for leaks or damage before deciding what work the joint needs.
For example, if the grout beside the tub looks dark a day after cleaning, compare it with a dry section and check whether the area feels damp or has a musty smell. A recurring dark patch could signal ongoing moisture; a flat, even discoloration across older grout may simply be age or embedded staining. Neither calls for endless scrubbing.
Use a gentle, compatible cleaning routine first, then assess what remains after the surface dries. If the grout is intact but stained, a suitable repair product or professional advice may help you choose the next step. If it is cracked or missing, repair may be needed to restore the joint.
Keep your expectations realistic: some discoloration will not lift with cleaning, and aggressive methods can make fragile grout worse. Think of grout like the stitching between tiles. Washing can remove dirt from the seam, but it cannot mend a broken thread.
Frequently Asked Questions
Can I use vinegar to clean bathroom tile and grout?
Vinegar may suit some ceramic or porcelain surfaces, but avoid it on many natural stones such as marble, limestone, and travertine. Use caution with cement-based grout, and choose a compatible pH-neutral cleaner as a safer general option.
Is bleach safe for grout?
Bleach can lighten some stains, but it may discolor grout or nearby materials and does not solve the moisture behind recurring mildew. Use it only as directed for your surfaces, ventilate the room, and never mix it with another cleaner.
How do I remove mildew without scrubbing too hard?
Use a cleaner labeled safe for your tile and grout, follow its contact-time directions, then brush gently with a soft or medium nylon brush and rinse well. Improve ventilation and address leaks or persistent dampness, since moisture can make mildew return.
Can baking soda damage grout or tile?
Baking soda can be mildly abrasive. Test a small hidden area first, especially on polished or delicate surfaces, and avoid vigorous scrubbing that could wear grout or dull a finish.
Why does grout look dirty again after cleaning?
Cleaner residue, porous or worn grout, embedded stains, and ongoing moisture can all make grout look dirty again. Rinse thoroughly, let the area dry, and check whether the grout needs repair or the room needs better ventilation.
When should I replace grout instead of cleaning it?
Cracking, crumbling, missing sections, persistent staining, or recurring moisture may call for repair or replacement after you address the underlying cause. Cleaning removes grime; it cannot restore damaged grout.
Conclusion
Match the cleaner to your tile and grout, start gently, and rinse until the surface feels clean rather than slick. If a dark line keeps returning, check for moisture or damaged grout before you scrub harder.
Your best bathroom cleaning tool may be a soft brush, a clear product label, and a towel that keeps the last drops from settling into the seams.